When I first started developing an Angular application everything seemed to go well. Comparing to React, a lot of things were implemented out of the box. Until I reached the time when I needed to make some components of my application dynamic.
The problem
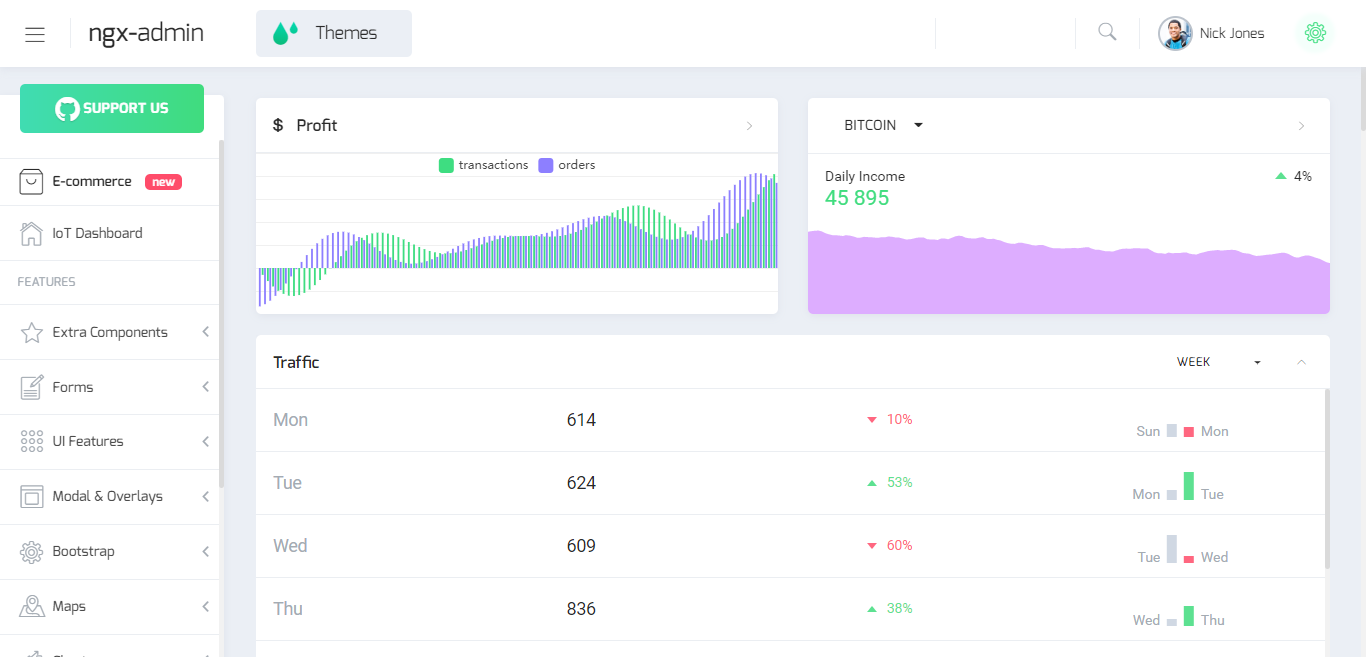
Almost every admin panel SPA looks the same. We have a sidebar for navigation, a topbar and the main content, that represents a work area of the application. This layout is UX-friendly, however sometimes we need to change not only the main layout, but other parts like a topbar or a sidebar.
In React this can be implemented easily with a few lines via <Router> and <Route> (in Angular too, as we will see later). All suggested solutions, that I googled, were too complex, and required some tricks. They were not hard to understand, but required steps that looked overcomplicated.
Possible solutions:
- Subscribe to route events and change components depending on the current route
- Via Component Factory Resolver and Component Refs
- ViewContainerRef
- … etc
Sample project
We need some code to play with. There is a great admin panel https://github.com/akveo/ngx-admin. It has a nice layout and design. I have forked this repo for the tutorial. Clone my repo using the following command
1 | git clone https://github.com/CROSP/dynamic-angular-components && git checkout d5ff97c87d3d03363cd2f34dc7b627dd5388f335
|
I won’t cover the structure of this project, hence this is out of scope of the tutorial. We will go step by step, hope everything will be clear enough. Navigate to the cloned directory and execute the following command to install depenendencies.
1 | npm install
|
To run development server execute the next command.
1 | npm start
|
After the application is compiled you should be able to access it via http://localhost:4200/
Agenda
The main idea is to add some specific components/elements to the topbar and the sidebar for specific pages.
Let’s take two pages for this tutorial.
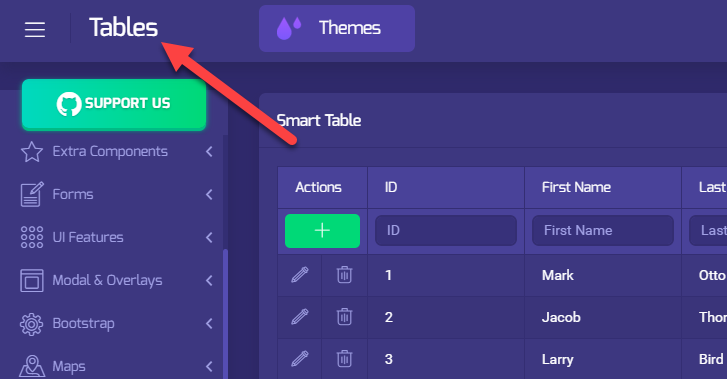
- Table Page. We will add two buttons in the Topbar for adding and deleting users.
- IOT-Dashboard Page. Here we will add one spinner in the Topbar and action buttons into the Sidebar.
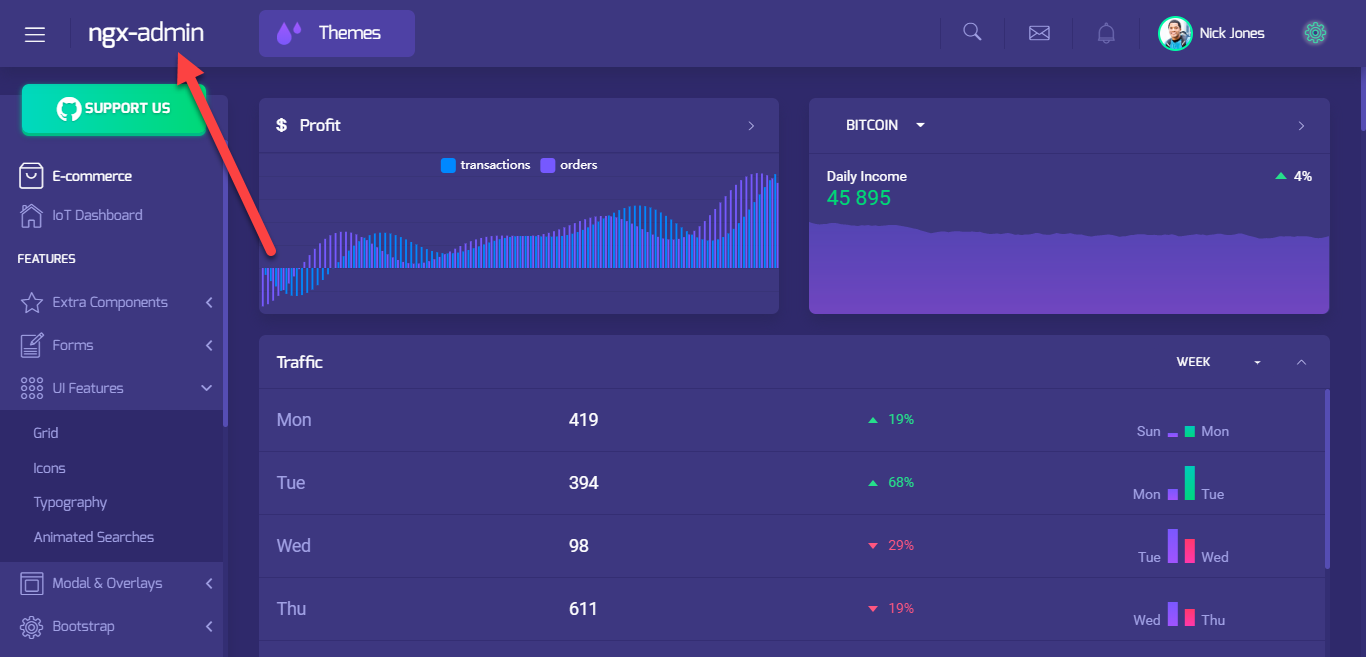
Furthermore we will change this static title to a dynamic one using Routes Data.
Routes extra data
Let’s start from an easier task. We will make our title to changin according to a selected currenlty selected page.
To pass extra data to routes define a property named data like that.
1 2 3 4 5 | {
path: 'iot-dashboard',
data: {title: 'IOT Dashboard'},
component: DashboardComponent,
}
|
Next open the Header Component file (header.component.ts).
Inject ActivatedRoute and Router as constructor dependencies as follows:
1 2 3 4 5 6 7 8 | constructor(private sidebarService: NbSidebarService,
private menuService: NbMenuService,
private activeRoute: ActivatedRoute,
private router: Router,
private userService: UserService,
private analyticsService: AnalyticsService,
private layoutService: LayoutService) {
}
|
Now we need to subscribe to route events to get extra data.
1 2 3 4 5 6 7 8 9 10 11 12 13 14 15 16 17 18 19 20 21 22 23 24 25 26 27 28 29 30 31 | private setTitleFromRouteData(routeData) {
if (routeData && routeData['title']) {
this.pageTitle = routeData['title'];
} else {
this.pageTitle = 'No title';
}
}
private getLatestChild(route) {
while (route.firstChild) {
route = route.firstChild;
}
return route;
}
private subscribeToRouteChangeEvents() {
// Set initial title
const latestRoute = this.getLatestChild(this.activeRoute);
if (latestRoute) {
this.setTitleFromRouteData(latestRoute.data.getValue());
}
this.router.events.pipe(
filter(event => event instanceof NavigationEnd),
map(() => this.activeRoute),
map((route) => this.getLatestChild(route)),
filter((route) => route.outlet === 'primary'),
mergeMap((route) => route.data),
).subscribe((event) => {
this.setTitleFromRouteData(event);
});
}
|
Of course you can adjust this subscription for your needs, but it should be clear what is going here. Call this method inside the ngOnInit hook. Finally add the pageTitle field and use it in the template.
1 | <div class="logo">{{pageTitle}}</div>
|
As a result you should get title chainging while navigating between pages of the application.
This was just a bonus, let’s move to the main part.
Page specific Components in Tobpar and Sidebar
First of all, we need to define a new router outlet in places where we need our dynamic components.
Open the header.component.html file and add new outlet.
1 2 3 4 5 6 | ...
<div class="header-content">
<router-outlet name="header-top"></router-outlet>
</div>
<div class="header-container">
...
|
Also add RouterModule import to the ThemeModule. This step is required to recognize the router-outlet tag.
1 | const BASE_MODULES = [CommonModule, RouterModule, FormsModule, ReactiveFormsModule];
|
Secondly, add another outlet to the Sample Layout Component (sample.layout.ts)
1 2 3 4 5 6 7 | ...
</a>
<div class="sidebar-dynamic-content">
<router-outlet name="sidebar-top"></router-outlet>
</div>
</nb-sidebar-header>
...
|
Finally, in order to add page specific content to the created outlets, firstly go to the Table Routing module (tables-routing.module.ts) and change it to look like that.
1 2 3 4 5 6 7 8 9 10 11 12 13 14 15 16 17 | const routes: Routes = [{
path: '',
children: [{
path: 'smart-table',
children: [
{
path: '',
data: {title: 'Tables'},
component: SmartTableComponent,
},
{
outlet: 'header-top',
path: '',
component: TablesHeaderComponent,
}],
}],
}];
|
As agreed, we need to add two buttons to the header on the Tables page. Define a simple dummy component.
1 2 3 4 5 6 7 8 9 10 11 12 13 | @Component({
selector: 'ngx-table-header-component',
template: `
<button type="button" style="display: inline-block;margin-right: 10px;" class="btn btn-primary btn-icon">
<i class="nb-plus-circled"></i>
</button>
<button type="button" style="display: inline-block;" class="btn btn-danger btn-icon">
<i class="nb-trash"></i>
</button>`
,
})
export class TablesHeaderComponent {
}
|
After that, wait for compilation and navigate to the route http://localhost:4200/#/pages/tables/smart-table
In case everything is done right you should get the following output.

As you could see, we have just added desired behavior without refs and other suggested techiques.
To complete our task let’s move our attention to the IOT Dashboard page. Routing configuration for that page is located in the root pages routing module (pages-routing.module.ts).
As you may already guessed it should be defined in the following way.
1 2 3 4 5 6 7 8 9 10 11 12 13 14 15 16 17 18 19 20 21 | {
path: 'iot-dashboard',
children: [
{
data: {title: 'IOT Dashboard'},
path: '',
component: DashboardComponent,
},
{
outlet: 'header-top',
path: '',
component: DashboardHeaderComponent,
},
{
outlet: 'sidebar-top',
path: '',
component: DashboardSidebarComponent,
},
],
}
|
Create components, declare them in module and see the result.
For the header part I will use the following layout:
1 2 3 4 5 6 7 8 9 10 11 12 | @Component({
selector: 'ngx-dashboard-header-component',
template: `
<nb-card [nbSpinner]="true" nbSpinnerStatus="primary">
<nb-card-body>
Some card content.
</nb-card-body>
</nb-card>`
,
})
export class DashboardHeaderComponent {
}
|
The sidebar component is implemented in this fashion:
1 2 3 4 5 6 7 8 9 10 11 12 | @Component({
selector: 'ngx-dashboard-sidebar-component',
template: `
<nb-actions size="medium">
<nb-action icon="nb-menu"></nb-action>
<nb-action icon="nb-search"></nb-action>
<nb-action icon="nb-email"></nb-action>
</nb-actions>`
,
})
export class DashboardSidebarComponent {
}
|
Declare components in the module, recompile an application and you should see a similar result.
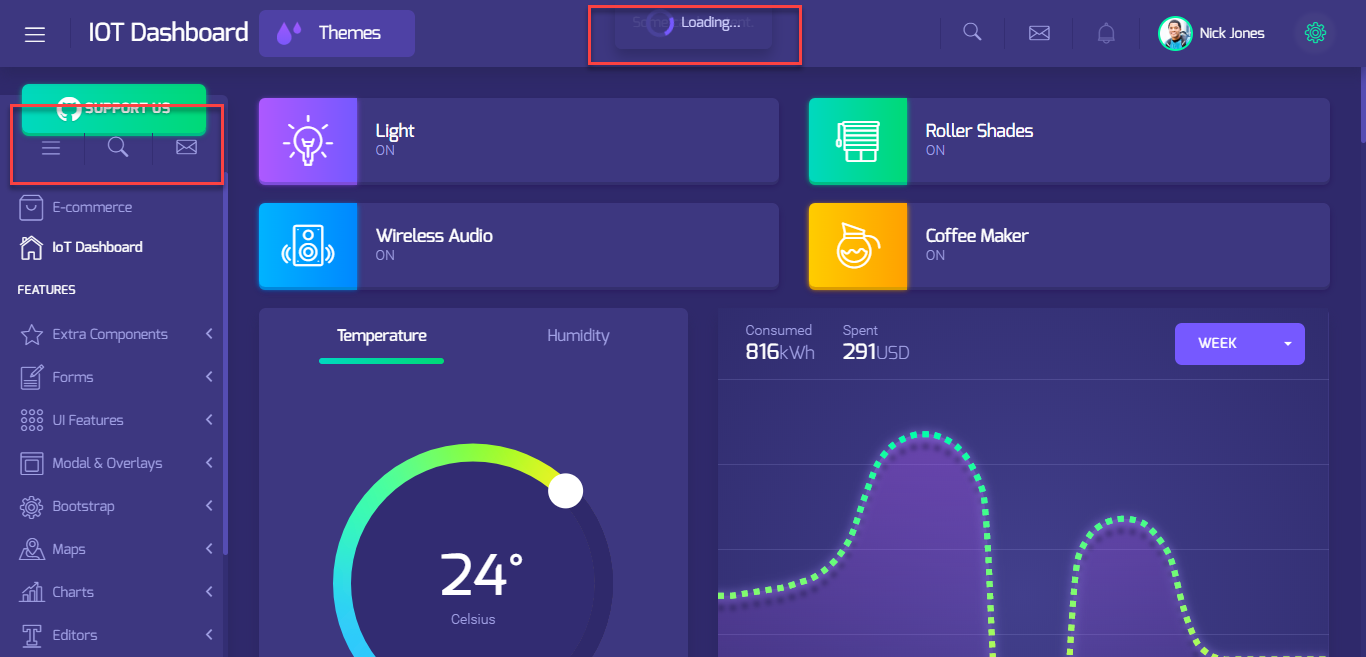
Everything work pretty well.
Conclusion
In this tutorial I’ve described a declarative way for changing components dynamically based on the current route without any references. You can use this method for other cases in your application. Hope this article will be useful for someone.
You can find full project source code at this repository:
Hi, my name is Molochko Alexander, I am Interested in different areas of software development, curious about learning and discussing architectural and software patterns, examining internals and understanding how everything works under the hood.
Recent posts
- Mar 1, 2020 Implementing Laravel custom Auth Guard and Provider
- Feb 16, 2019 Hacking Java Applications with Byte Buddy and Decompilers
- Jan 5, 2019 Page Specific Dynamic Angular Components using Child Routes
- Oct 13, 2018 Understanding Dagger 2 Scopes Under The Hood
- Jul 21, 2018 Understanding and using Xdebug with PHPStorm and Magento remotely
Popular posts
- 143432 Views How to Install The Latest Apache Server (httpd) on Centos 7
- 105215 Views Routing network traffic through a transparent SOCKS5 proxy using DD-WRT
- 76488 Views How to Unbrick TP-Link WiFi Router WR841ND using TFTP and Wireshark
- 75179 Views Android Reverse Engineering: Debugging Smali in Smalidea
- 62663 Views Clean Architecture : Part 2 – The Clean Architecture