Is there any reason to use Twig with WordPress? Do you like PHP code snippets inside your HTML layout templates, can you open any large template and find a part you are interested in within a few seconds? If you can, you probably have a small template file.
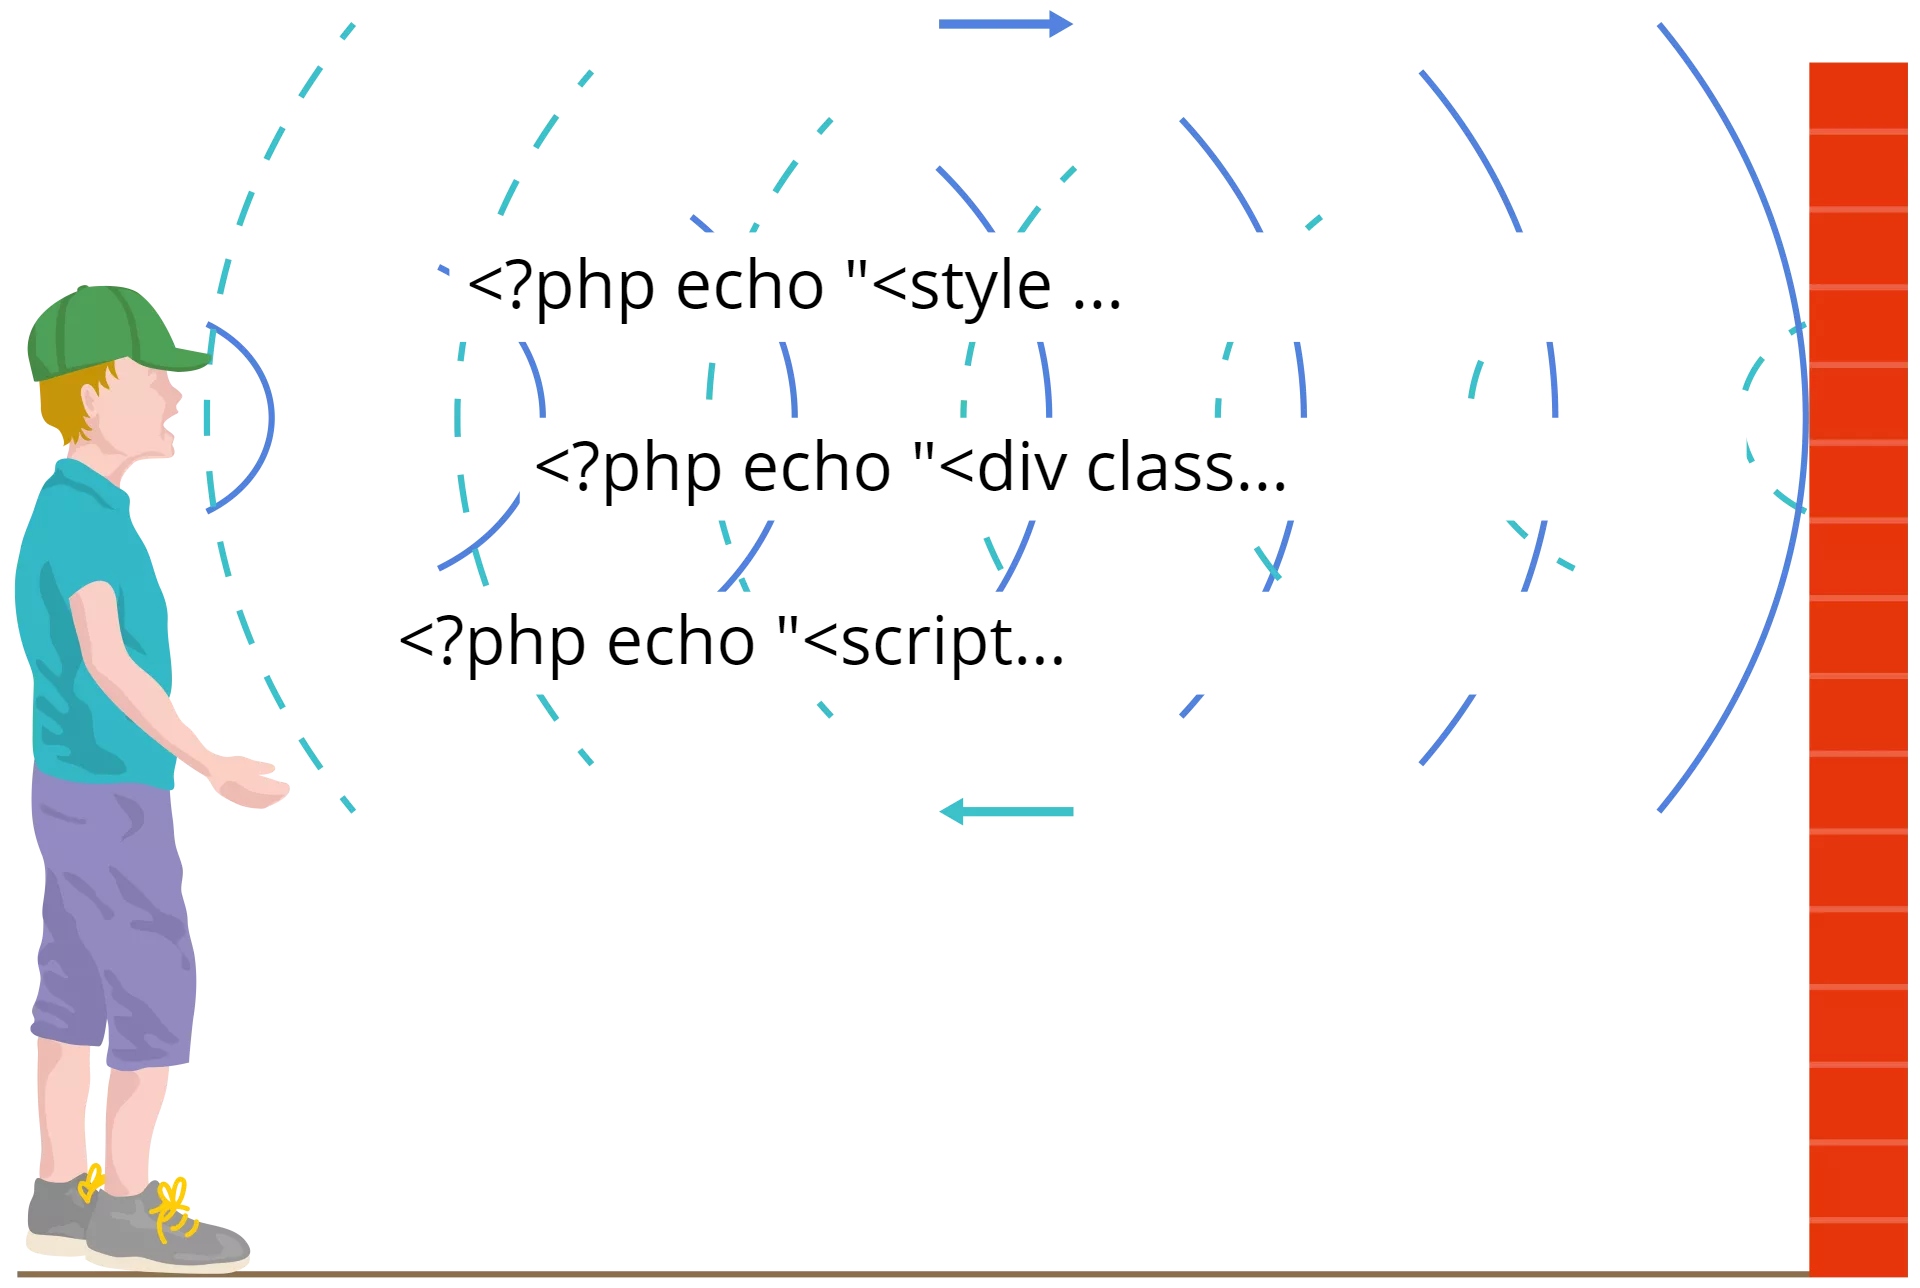
When I first started using CMSes written in PHP, I was unpleasantly surprised by the way they produce HTML code. I tried one CMS and then another, however found the same situation, HTML and PHP code snippets were tightly coupled and mixed in a chaotic way. If you have a template file containing less then 200 lines of code it may seem not so scary, but in case of large projects you may end up spending hours trying to found unclosed tag, bracket or quote. Furthermore, WordPress has introduced a really bad practice – opening a tag in one file and close it in another one.
Are PHP and HTML best friends?
I have noticed that sometimes newbie developers don’t understand how does the HTML/CSS/JS frontend trio relate to “server side languages” like PHP. Why do I put the server side word into quotes? Because, to be honest there is only one thing that makes a language to be a server side, is ability to handle requests coming from the client-side. On the low level it means that a language has built-in features for opening sockets and handling requests of a specific protocol, in our case HTTP. As you may already be aware about Node JS, this a good example of a language that initially was used only inside a browsers’ virtual machine. We have a standard specification called ECMAScript. Now it i implemented on the server side and used quite heavily for different kind of applications. NodeJS has a great asynchronous I/O and request processing.
Why I am telling you this? In order help you grasp an important idea. There are a lot of different languages that can be used for producing HTML code, they all have different syntax, features and anytime you mix frontend markup languages your are cornering yourself into boundaries, since you will have to change a lot of code if the backend technology changes. To avoid such problems you have to keep your templates (layout) files decoupled from your server side technologies. Template engines usually use some sort of DSL that is processed by a template engine itself. In future articles I will show how can you create a web site (powered for example by WordPress) from HTML layout without making a single change in HTML files.
Why use a template engine?

- Decoupling – As I have already mentioned, decoupling is a great way to make your applications more scalable and extendable, since you are keeping different concerns separetely.
- Speed and Efficiency – Development becomes much faster and efficient when a template engine is used, I know you are already tired of openning and closing PHP tags inside your templates for just a single echo statement. Of course compilation of templates requires extra processing time, but it’s worth it.
- Convention – A template engine force you to use some convention and you usually don’t have a choice to implement something quite differently.
- Readability and Simplicity – Typically, a template engine’s syntax is much more readable than code snippets. That saves a lot of time while development and debuggings.
- Security – While writing echo snippets or similar constructions you have more freedom, I have seen a number of time, when devlopers put everything inside a template file starting from core business rules (like calculating salary) to raw SQL queries. When you are using a template engine you at least will have to find how to implement your dirty idea, but I hope you won’t find and end up with moving all non related thigns to a proper layer. In addition some template engines provide security features like sandboxing.
Meet Twig
Twig is a template engine for the PHP programming language that is built to boost your development experience and save a lot of time and spare your nerves. It will bring new advantages in your development process and help to eliminate spaghetti code. Twig is becoming even more popular and widely used, for instance, Twig is the core template engine in Drupal 8. Opencart starting from 3.0.0 version is also leverages the Twig template engine. I guess that WordPress starting from 5.0.0 also will use Twig or some other template engine.
Lets have a look at some sort of before-after example.
Without using Twig.
1 2 3 4 5 6 7 8 9 | <div class="recent-posts">
<h2 class="recent-posts__title">Recent Posts</h2>
<ul class="recent-posts__list">
<?php foreach ($posts as $id => $post) { ?>
<li class="recent-posts__list-item recent-post-item <?php echo(($id == $currentPostId) ? 'recent-post-item--current' : ''); ?>"
id="<?php echo $id; ?>"><?php echo $post['title']; ?></li>
<?php } ?>
</ul>
</div>
|
With using Twig.
1 2 3 4 5 6 7 8 | <div class="recent-posts">
<h2 class="recent-posts__title">Recent Posts</h2>
<ul class="recent-posts__list">
{% for id, post in posts %}
<li class="recent-posts__list-item recent-post-item {{ (id == currentPostId) ? 'recent-post-item--current': '' }}" id="{{ key }}">{{ post.title }}</li>
{% endfor %}
</ul>
</div>
|
This is not the best example, but even so you can see that Twig provides much more readable and concise syntax than PHP echo statements.
Twig is a really powerful and feature-rich template engine, you can find a lot of articles explaining it’s features in details. This article is intended to show how could you use Twig to make your WordPress development experience a little bit better and faster.
Timber (Twig for WordPress)
Twig itself is a template engine for PHP, you may have a question, why do you need another plugin to start using Twig. The answer is – for your convenience. There is a great plugin called Timber. This plugin provides a bunch of useful functions that are closely related to WordPress. For instance, for retrieving posts, pages, filters, custom attributes, etc. You will have a chance to look at some features in the article or you could refer to the official documentation for more details. So install the Timber plugin and activate it.
WordPress Theming with Twig
Let’s get started. In this tutorial I will use code from a real project. We will use an existing default theme Twenty Seventeen, rewriting it using Twig, also changing some parts and structure of the default theme. I won’t cover a whole process in this article, because it requires a series of articles and doesn’t make big sense.
Directory structure
First copy the default Twenty Seventeen theme and rename directory according to your project name, in my case it will be incresive. Then, create a new directory and call it templates. We will put all twig template files here. There can be a long discussion regarding a directory structure used for a project. Generally, I prefer the package by feature approach, however in that case there are no components/modules/features that have pronounced boundaries. Anyway, we will try to keep our codebase clean and extendable.
Another directory we will have is page-composer. It will contain PHP classes that are responsible for collecting data to be displayed on a page.
1 2 3 4 | --<theme_name>
----page-composers
----templates
....
|
WordPress and OOP
To be honest, WordPress is not a framework/CMS that is written considering OOP principles, it has some classes, however mostly they don’t make sense in the OOP context. There is nothing wrong with that, there are reasons for such decisions, for example backward compatibility, speed and ease of understanding. Following “true” OOP principles may introduce more disadvantages than advantages. All OOP paradigms, principles are usually ovewhelmed by a lot of abstraction, Inversion of Control and boilerplate code. As a result that dramatically complicates the learning curve and requires implementing additional mechanisms, like caching to have the same performance.
Page Composer
A Page Composer is a class (an instance of the class) that collects all necessary data for rendering page, after all data is fetched the flow is transferred to Timber, for rendering the page. It is an attempt to even more decouple details from domain and make our theme more OOP driven.
Let’s create an abstract class called Page_Composer_Contract. I am using Contract suffix, it is just mine preference for naming interfaces instead of the traditional I prefix. The file is itself is called interface-page-composer.php, following the “WordPress naming convention”.
1 2 3 4 5 6 7 | <?php
interface Page_Composer_Contract
{
public function render();
public function get_template();
}
?>
|
As you can see from the class above, we have two methods. The render method, from the first sight, you can think that a page composer will render a page by itself, but as you will see later it is used only for delegating the flow of control to Timber. The get_template is used to return a template name for a page.
The Template Method pattern
Why do we need to have a separate method instead of directly passing a template twig file name to Timber? Consider the case when you have a page composer class and you just want to change the template with a new one, if you don’t have such method, you will have to override the whole render method copying and pasting code from the parent class. However, if you have a specific method for returning the name of a template file, we have to just override a single method. This pattern is called Template Method Pattern.
Now let’s define a class that will be used as the base class for all page composers, that will contain common logic. In that case I will show only one case – adding specific classes to the body tag according to a device used by a user. The file name is abs-class-base-page-composer.php, I don’t know whether this naming conforms to WordPress naming conventions, but let it be like that.
1 2 3 4 5 6 7 8 9 10 11 12 13 14 15 16 17 18 19 20 21 22 23 24 25 26 27 28 29 30 31 32 33 34 35 36 37 38 39 40 41 42 43 44 45 46 47 48 49 | <?php
require_once 'interface-page-composer.php';
require_once get_template_directory() . '/utils/Mobile_Detect.php';
abstract class Base_Page_Composer implements Page_Composer_Contract
{
const CLASS_IOS = 'mobile-device--ios';
const CLASS_ANDROID = 'mobile-device--android';
const CLASS_MOBILE = 'mobile-device';
protected $context;
protected $device_detector;
public function init()
{
$this->context = Timber::get_context();
add_filter('body_class', array($this, 'detect_device_class'));
}
public function detect_device_class($classes)
{
$this->device_detector = new Mobile_Detect();
$body_class_name = '';
if ($this->device_detector->isMobile()) {
$classes[] .= self::CLASS_MOBILE;
if ($this->device_detector->is('iOS')) {
$classes[] = self::CLASS_IOS;
}
if ($this->device_detector->is('Android')) {
$classes[] = self::CLASS_ANDROID;
}
}
$classes[] = $body_class_name;
$classes[] = 'body-main';
return $classes;
}
public function collect_body_styles()
{
// Collect classes for body tag
$body_classes = get_body_class();
$this->context['body_properties'] = '';
if (in_array(self::CLASS_IOS, $body_classes)) {
$this->context['body_properties'] .= 'ontouchstart=""';
}
$this->context['body_classes'] = join(' ', $body_classes);
}
}
?>
|
I think that the code above is clear. The context property is a variable that stores all data that is passed to a template by Twig (Timber). We will discuss it later in that article.
Twig Templates
Finally, everything is ready to start creating Twig templates for our theme. There is a starer theme provided by developers of Timber. I suggest you to have a look at it in order to get understanding of what you are able to do using the plugin and Twig itself.
Base template
Initial step is to create a base template file that will contain common parts for any page. Let’s create a file called base.twig and define it as follows.
1 2 3 4 5 6 7 8 9 10 11 12 13 14 15 16 17 18 19 20 21 22 23 24 25 26 27 28 29 30 31 32 33 34 | {% extends "base.twig" %}
{% block header %}
<header id="header-main" class="l-header header">
{% include ['front-header.twig'] %}
</header>
{% endblock %}
{% block main_content %}
<main id="main-page-content" class="container main-content">
{% block section_about_us %}
<section id="about-us" class="section section--white about-us">
{% include ['section-about-us.twig'] %}
</section>
{% endblock %}
{% block section_latest_blog_posts %}
<section id="latest-blog-posts" class="section section--dark latest-blog-posts">
{% include ['section-latest-blog-posts.twig'] %}
</section>
{% endblock %}
{% block section_contacts %}
<section id="contacts" class="section section--white contacts">
{% include ['section-contacts.twig'] %}
</section>
{% endblock %}
</main>
{% endblock %}
{% block footer %}
<footer id="footer-main" class="footer front-footer">
{% include ['front-footer.twig'] %}
</footer>
{% endblock %}
{% block out_body %}
{% include ['scroll-to-top.twig'] %}
{% endblock %}
|
We have just defined a skeleton for our pages. I think it is quite clear what is going on here, at least the code is readable. The content of included files are not really important in that case as they will be overridden. Let’s discuss the most important parts.
- Block – blocks represent logical parts of your page, blocks are used for overriding and inheritance. A block is a part of a page that is changing. By analogy they can be considered as methods(not static and private) with echo statements inside. We will see in a while how to override blocks.
- Include – is a self-explanatory statement that includes content of the specified file, of course all statements in the file being included are processed as well.
- {{ echo }} – two curly braces are used for printing out content of the variable placed inside.
Front Page Template and Composer
Now it is time to define a template for front page. There is no magic behind Timber (Twig), WordPress is still working in the same way as before. So for the front page there is a file called front-page.php. Create it if you don’t have it. Remove all content and insert the following code.
1 2 3 4 5 6 7 8 9 | <?php
require_once FileStoreManager::theme_directory('/page-composers/class-front-page-composer.php');
if ( ! class_exists( 'Timber' ) ) {
echo 'This page cannot be displayed please contact site administrator';
return;
}
$page_renderer = new Front_Page_Composer();
$page_renderer->render();
?>
|
As you may already noticed, we need to create a composer class. Let’s do this right now. I will simplify it to show the basic idea and responsibilities. For now, we will have a simple front page that displays several sections:
- Header Intro – containing just a name of the site.
- About Us – content of a page created through the admin panel.
- Latest Blog Posts – recent blog articles.
- Contacts – a contact form and addresses.
Now we need to create a template file for the front page and extend from the base template.
1 2 3 4 5 6 7 8 9 10 11 12 13 14 15 16 17 18 19 20 21 22 23 24 25 26 27 28 29 30 31 32 33 34 | {% extends "base.twig" %}
{% block header %}
<header id="header-main" class="l-header header">
{% include ['front-header.twig'] %}
</header>
{% endblock %}
{% block main_content %}
<main id="main-page-content" class="container main-content">
{% block section_about_us %}
<section id="about-us" class="section section--white about-us">
{% include ['section-about-us.twig'] %}
</section>
{% endblock %}
{% block section_latest_blog_posts %}
<section id="latest-blog-posts" class="section section--dark latest-blog-posts">
{% include ['section-latest-blog-posts.twig'] %}
</section>
{% endblock %}
{% block section_contacts %}
<section id="contacts" class="section section--white contacts">
{% include ['section-contacts.twig'] %}
</section>
{% endblock %}
</main>
{% endblock %}
{% block footer %}
<footer id="footer-main" class="footer front-footer">
{% include ['front-footer.twig'] %}
</footer>
{% endblock %}
{% block out_body %}
{% include ['scroll-to-top.twig'] %}
{% endblock %}
|
Header section
For the sake of simplicity, the header section will contain only the title and description of our site. Let’s define the following layout.
1 2 3 4 5 6 | <div class="header-intro">
<div class="header-intro__wrapper">
<h1 class="header-intro__title header-title">{{ header.title }}</h1>
<h2 class="header-intro__description header-description">{{ header.description }}</h2>
</div>
</div>
|
Now, we need collect the information in order to display it in the section. Create a method called, for instance, collect_header_section_data() and in that case getting required information is quite simple as follows.
1 2 3 4 5 6 7 8 9 | <?php
protected function collect_header_section_data()
{
$header_data = [];
$header_data['title'] = get_bloginfo('name');
$header_data['description'] = get_bloginfo('description', 'display');
$this->context['header'] = $header_data;
}
?>
|
We are just using WordPress functions to get data.
About section
In order to show how you can embed the content of a post into a section, let’s create a new post, in that case it will be called “Section About Us”. Make it private and remove from the search results (sitemap.xml). That may be not the best idea to use a separate post for the section on the front page, however in that case we leave pure WordPress functionality. As a result all plugins that use core WordPress functionality, like Translation plugins, will work fine.
1 2 3 4 5 6 7 | <div class="about-us">
<h2 class="about-us__title">{{ about.title }}</h2>
<hr class="about-us__divider">
<p class="about-us__content">
{{ about.content }}
</p>
</div>
|
To get the post I use the following code.
1 2 3 4 5 6 7 8 9 10 11 | <?php
protected function collect_about_section_data()
{
$about_us_post = Wordpress_Helper::get_private_post_by_slug("section-about-us");
$about_us_data = [];
$about_us_post = get_object_vars($about_us_post);
$about_us_data['title'] = $about_us_post['post_title'];
$about_us_data['content'] = $about_us_post['post_content'];
$this->context['about'] = $about_us_data;
}
?>
|
Latest blog posts section
Next section will contain three recent posts. Here is a simple layout for that section.
1 2 3 4 5 6 7 8 9 10 11 12 13 14 15 16 17 18 19 20 21 22 | <div class="blog-posts blog-posts--latest row">
{% for post in latest_posts %}
<div class="blog-post__item blog-post-item col-md-4">
<img alt="{{ post.title }}" src="{{ post.thumbnail.src('crsp-image-small') }}"
class="blog-post-item__bg-image">
<div class="blog-post-item__info post-item-info">
<a class="post-item-info__categories">
{% for category in post.terms('category') %}
<a class="post-item-info__category-link"
href="{{ category.link }}">{{ category.name }}{{ not loop.last ? ',' : '' }}</a>
{% endfor %}
</a>
<h3 class="post-item-info__title">
<a class="ost-item-info__title-link" href="{{ post.link }}" rel="">{{ post.title }}</a>
</h3>
<span class="post-item-info__date">
{{ post.date }}
</span>
</div>
</div>
{% endfor %}
</div>
|
For that section we have used the for loop for iterating through latest posts. Also we have the nested loop through categories. Now let’s see how can we get latest posts in our composer class.
1 2 3 4 5 6 7 8 9 10 11 12 13 14 15 16 17 18 19 20 21 22 23 24 25 26 | <?php
public function before_collect()
{
add_filter('timber_post_getter_get_posts', array($this, 'post_additional_info'), 10, 3);
}
public function post_additional_info($posts)
{
foreach ($posts as $post_object) {
$post_object->date_link = Wordpress_Helper::get_post_date_link($post_object->post_date);
$post_object->views_count = Wordpress_Helper::get_post_view_count($post_object->id);
}
return $posts;
}
protected function collect_latest_blog_posts_data()
{
$args = array(
'posts_per_page' => self::POSTS_COUNT,
'status' => 'publish',
'ignore_sticky_posts' => 0
);
$posts = Timber::get_posts($args);
$this->context['latest_posts'] = $posts;
}
?>
|
As I have already mentioned Timber provides a better integration between WordPress and Twig. Timber library provides a number of useful functions. In that case we are calling the Timber::get_posts() method. That is just a wrapper method that adds some additional conditions and filters. In the code above we are adding a filter handling function that just adds additional info to each fetched post. This filter is triggered by Timber.
Contacts section
Finally, the last section is Contacts. For that section we will use the well known plugin Contact Form 7. Create a form in the admin section and you will get a shortcode code for the just created form. I’ve got the following value [contact-form-7 id=”18″ title=”Contact Front Page”]. The template file for that section is simplified and has the next content.
1 2 3 4 5 6 7 8 | <div class="contacts">
<h3 class="contacts__title">
{{ contacts.title }}
</h3>
<div class="contacts__form contact-form contact-form--front">
{{ contacts.form }}
</div>
</div>
|
And to get the contact form, we are using the do_shortcode method as follows.
1 2 3 4 5 6 7 8 9 10 | <?php
protected function collect_contacts_section_data()
{
$form_html = do_shortcode(self::CONTACT_FORM_FRONT_PAGE_SHORTCODE);
$contacts_data = [];
$contacts_data['title'] = __('Get in touch');
$contacts_data['form'] = $form_html;
$this->context['contacts'] = $contacts_data;
}
?>
|
And finally as we’ve reached the last section and have all collect* method defined we need to create/override the render method, that is actually passing all collected data to Timber.
1 2 3 4 5 6 7 8 9 10 11 12 13 14 15 16 17 | <?php
public function render()
{
$this->init();
$this->before_collect();
$this->collect_header_section_data();
$this->collect_about_section_data();
$this->collect_latest_blog_posts_data();
$this->collect_contacts_section_data();
Timber::render($this->get_template(), $this->context);
}
public function get_template()
{
return array('front-page.twig');
}
?>
|
Conclusion
In this article I have tried to explain and show how you can be a more productive WordPress developer, eliminate chaotic template files, the functions.php file, etc. Using Timber/Twig with WordPress makes it easy to develop, read and extend even a simple wordpress theme. In further articles I will show you how to create WordPress themes without even modifying a single line of a template file created by a frontend developer.
The features explained in this article are only a minor part of the Timber/Twig functionality. Almost every feature that you need for development is already implemented and supported by the template engine. So do not hesitate to learn more about it.
All in all, main ideas are always the same. Keep your layers separated, use abstraction instead of a concrete implementation and keep codebase clean.
Hi, my name is Molochko Alexander, I am Interested in different areas of software development, curious about learning and discussing architectural and software patterns, examining internals and understanding how everything works under the hood.
Recent posts
- Mar 1, 2020 Implementing Laravel custom Auth Guard and Provider
- Feb 16, 2019 Hacking Java Applications with Byte Buddy and Decompilers
- Jan 5, 2019 Page Specific Dynamic Angular Components using Child Routes
- Oct 13, 2018 Understanding Dagger 2 Scopes Under The Hood
- Jul 21, 2018 Understanding and using Xdebug with PHPStorm and Magento remotely
Popular posts
- 143500 Views How to Install The Latest Apache Server (httpd) on Centos 7
- 106987 Views Routing network traffic through a transparent SOCKS5 proxy using DD-WRT
- 76567 Views How to Unbrick TP-Link WiFi Router WR841ND using TFTP and Wireshark
- 75302 Views Android Reverse Engineering: Debugging Smali in Smalidea
- 62753 Views Clean Architecture : Part 2 – The Clean Architecture